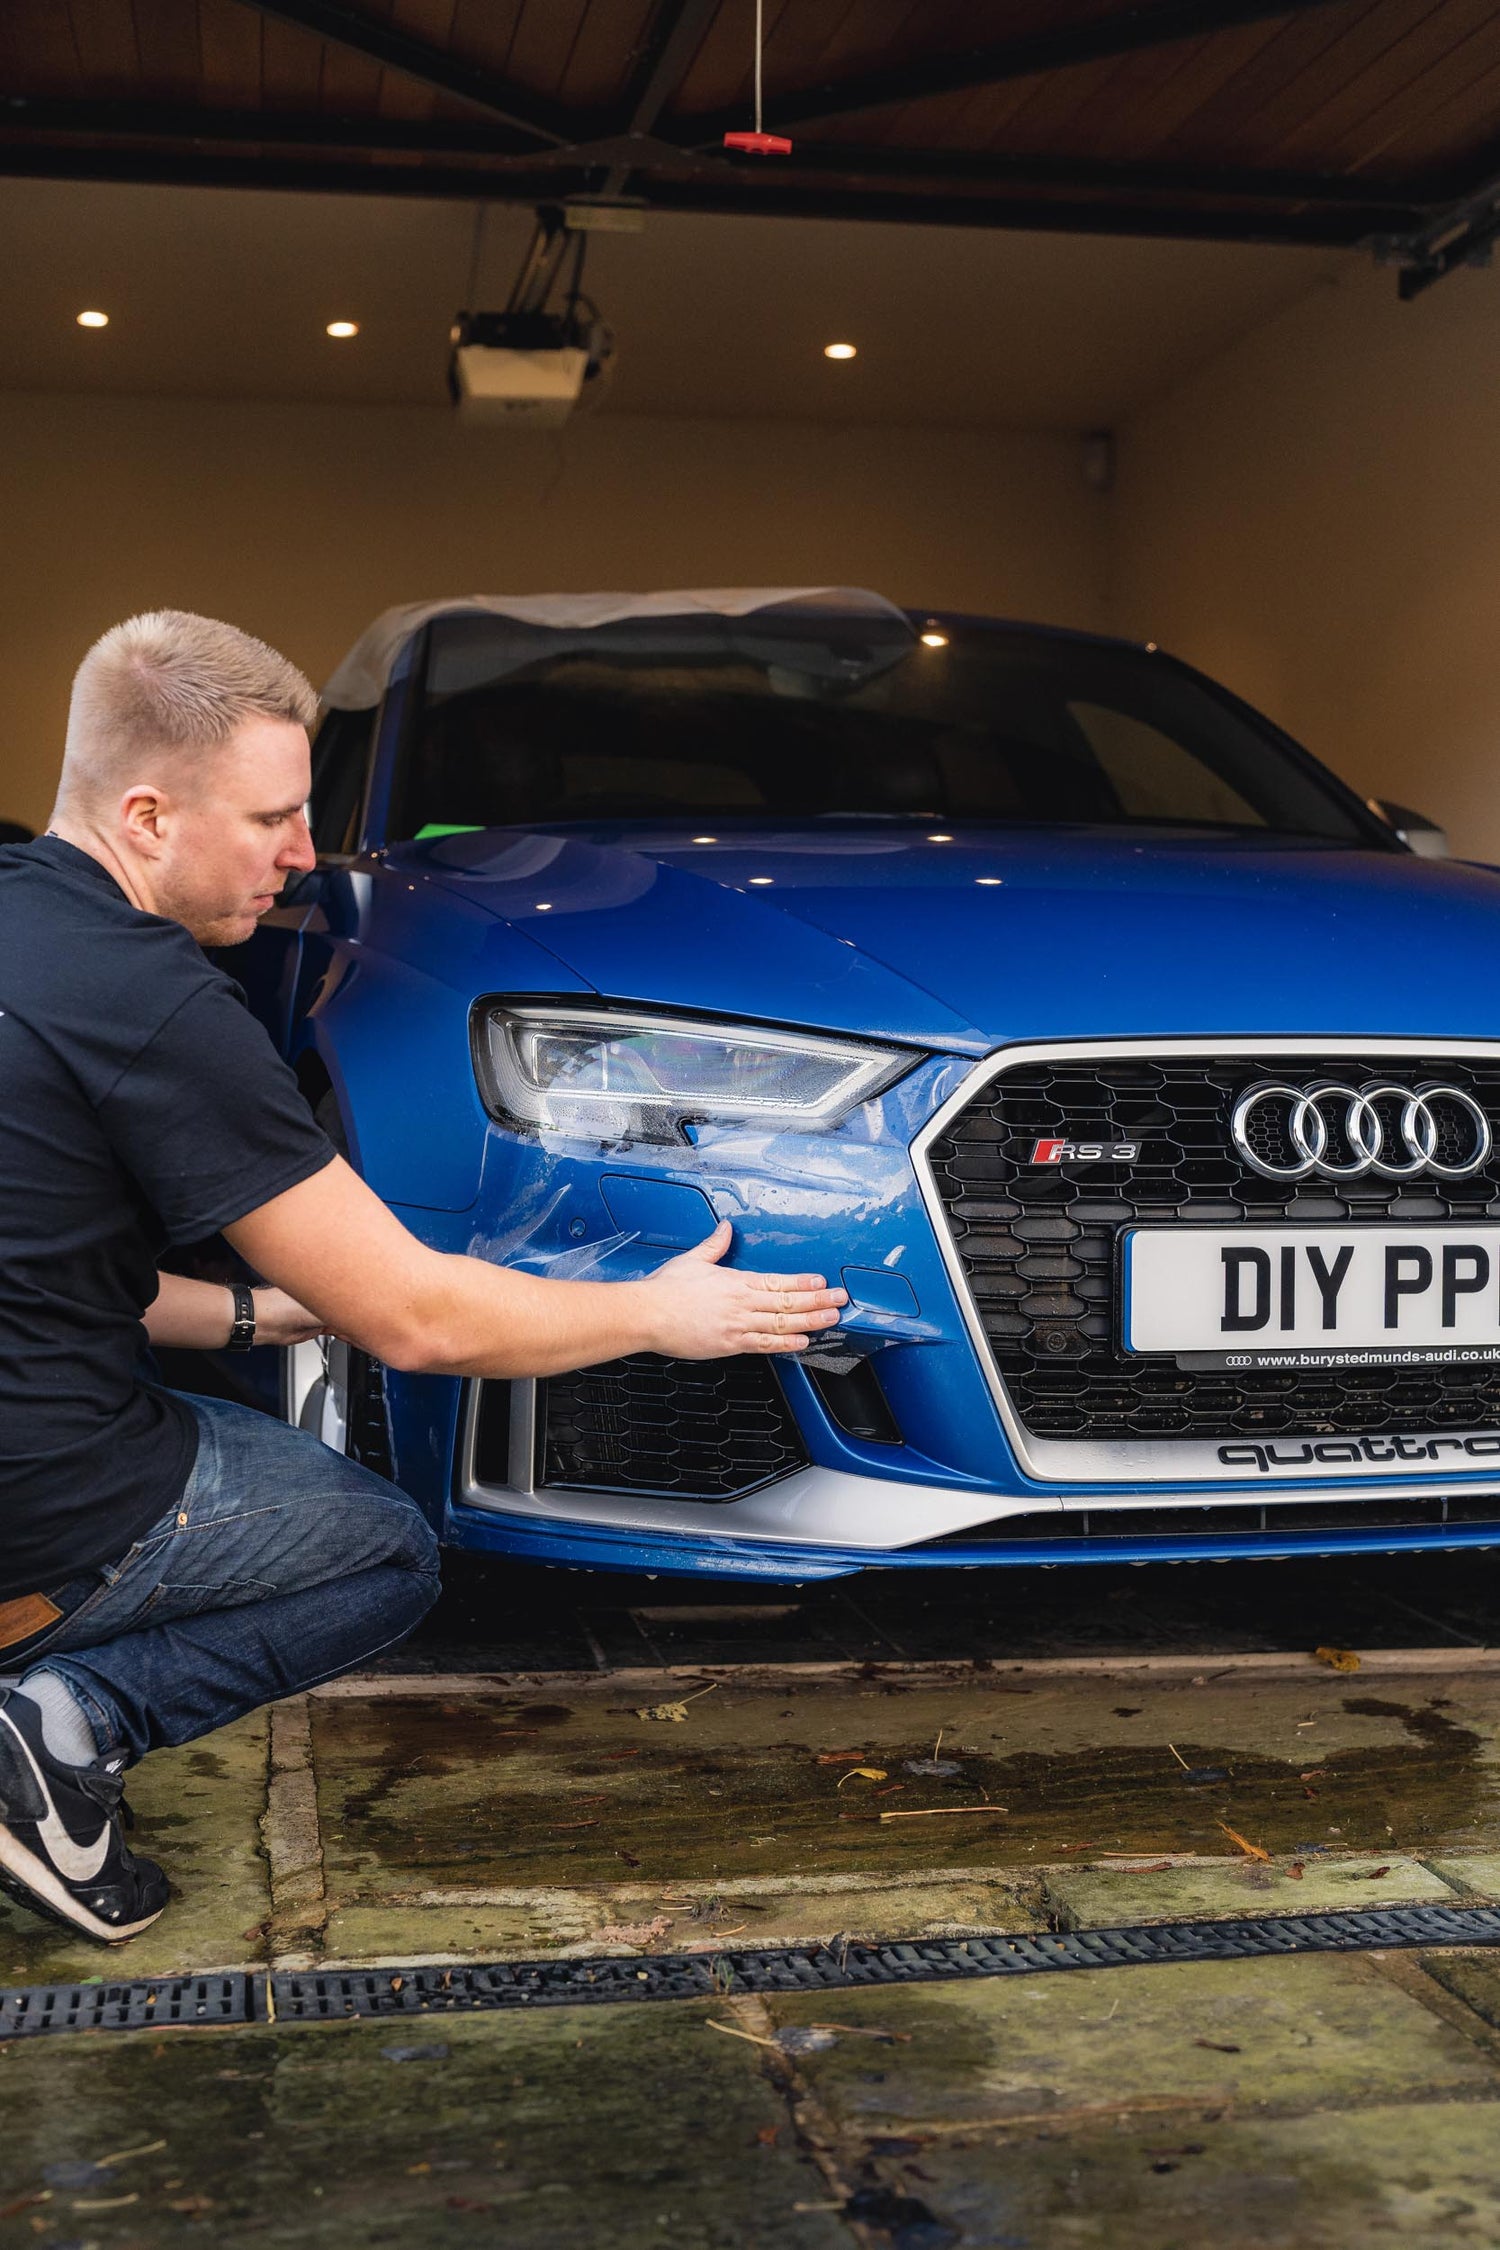
Fitting PPF is simple... but we understand it's a daunting prospect! Today, we're going to talk about the top 3 techniques to grasp that will guarantee your fit goes really well and looks great too.
Technique 1 - Understand how to use the slip and tack mixtures
When fitting PPF you have 2 key tools to help you. These are, the slip mixture, and the tack mixture. Both of these come in concentrated form with your fitting kit and are essential to having a successful fit for your PPF kit.
Slip solution helps the PPF slide across the panel of the car, it's essentially a soapy liquid that stops the PPF from sticking - aka, when slip solution is under the PPF it won't stick to the panel until you get rid of it. The reason slip solution is used, is to allow you to move the PPF around and get it lined up perfectly in place.
There's 2 ways to get rid of slip solution. Method number 1 is using the squeegee. Once you're happy with the position of the film, you can use the squeegee to push the slip solution out from under the film leaving it dry underneath and allow the film to stick to your cars paintwork.
Method number 2 is using the tack solution.
Tack solution is essentially an alcohol and water mix. The reason we use tack solution is to essentially wash away the slip solution and help the glue on the back of the film activate and become tacky.
When fitting your film you can play about with an interesting experiment...
Spray slip solution onto a piece of PPF and apply it to the paintwork of your car, squeegee out the moisture. Then using your figures, see if you can push the film around. Chances are, you will be able to move the film even after it's been squeegeed down. Now, try this same process but instead of using slip solution, use the tack solution. The film will be fixed in place and you won't be able to move it.
Technique 2 - Understand the importance of stretching the film
Stretching PPF not only makes it much easier to fit to a panel, but it also makes it look much better once it's fitted to the car as the edges will be closer and much less visible.
One thing a lot of DIY fitters come across is fingers, fingers are caused by an excess build up of film and even a small build up can lead to real problems removing figures. The dreaded situation where they just won't stick down!
This is where the concept of stretching the film comes in. The PPF patterns are designed to allow for a stretch of the material, stretching essentially turns a 2D flat piece of PPF into a 3D shape in order for it to conform to the panel, and to do this, you need to stretch! This is why it's so important to make sure that you push your PPF right to the edges of the panel, this causes the most amount of stretch and totally removes the fingers that appear in the panel. s you can see below, stretching out the film totally removes the large finger that is gathered in the middle.
Combining stretching with the tack solution is a powerful combination to getting your PPF fitted well. Use the tack to hold corners in place and stretch the panel out to remove fingers.


Technique 3 - Using your squeegee the best way
Getting moisture out from underneath the film is really important to making sure it stays down properly and looks good once it is down.
It's worth practising your squeegee technique on a panel before committing to a full car. Don't worry, it wont damage the film if you squeegee it down and pull it straight back up again. Give it a go to get a feel for the pressure you need to apply.
Apply firm pressure when squeegeeing out moisture, too light of a touch will leave moisture under the film which may never go, so you really want to make sure it's all gone.
Squeegee to hard edges. PPF loves a hard edge to grab onto so run your squeegee up to body lines or hard edges, you'll find the PPF sticks much better when you do this and you'll get it down much quicker.
A good tip for when you have to squeegee up, wrap your squeegee in a cloth so when it gets to the top of the stroke, it absorbs the moisture that comes out from under the film. If you don't do this, the moisture can travel back down underneath the film and cause it to lift a little more easily.
So there you have it - 3 top tips to fitting PPF which once mastered will help insure your PPF fit goes really well.
Best of luck and as ever, safe driving!


