How does DIY PPF work?
We've worked tirelessly to make DIY PPF as easy as possible to use. Weather you're a detailer or a detailing enthusiast we'll help you successfully apply PPF to your vehicle.
-
Step 1
Place your order on the DIY PPF website, or by messaging us on email or WhatsApp.
We'll make sure we have the right kit for your car and will ask for any images we need in order to make it for you.
-
Step 2
We'll make your PPF kit, specifically for your vehicle or your requirements.
We make every order bespoke for you so you can be assured it'll be the exact right fit for your car making the application process much easier.
-
Step 3
After 3-5 days your PPF kit will arrive at your door or detailing studio ready to be applied to the car.
Each order comes with a layout diagram so you know which parts to apply where.
DIY PPF Academy
View all-
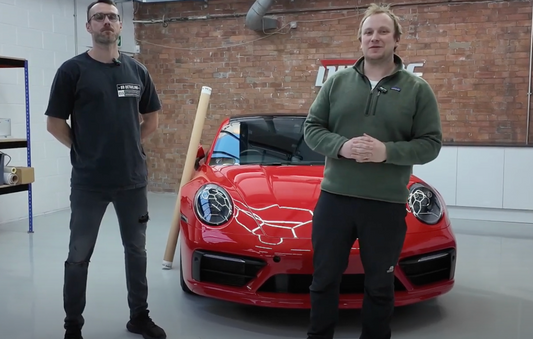
Lesson 1 - Introduction to your instructors
We are excited to have you here. In this DIY PPF Fitting Course, you will be guided by two experienced coaches, Ben and Will. Ben has been fitting Paint Protection...
Lesson 1 - Introduction to your instructors
We are excited to have you here. In this DIY PPF Fitting Course, you will be guided by two experienced coaches, Ben and Will. Ben has been fitting Paint Protection...
-
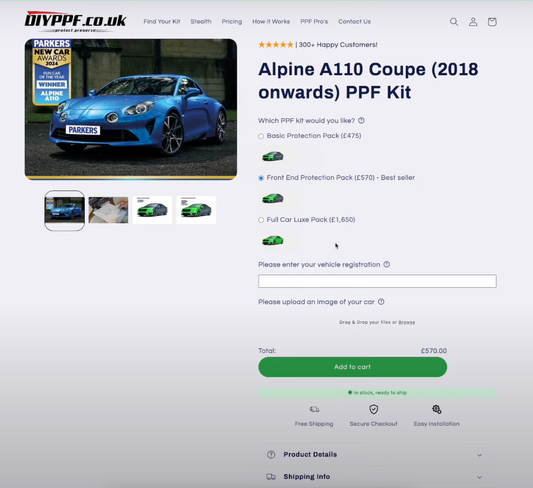
Lesson 2 - Ordering your kit
To place your order on the website, follow these steps: Scroll down the homepage to the "search by year, make and model" section. Select your year, make and model from...
Lesson 2 - Ordering your kit
To place your order on the website, follow these steps: Scroll down the homepage to the "search by year, make and model" section. Select your year, make and model from...
-
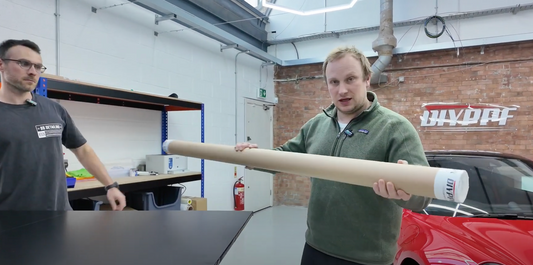
Lesson 3 - Receiving and unpacking your order
The first step in fitting a PPF is to remember to remove the staples from the end of the tube. This may seem like a small and insignificant step, but...
Lesson 3 - Receiving and unpacking your order
The first step in fitting a PPF is to remember to remove the staples from the end of the tube. This may seem like a small and insignificant step, but...
-
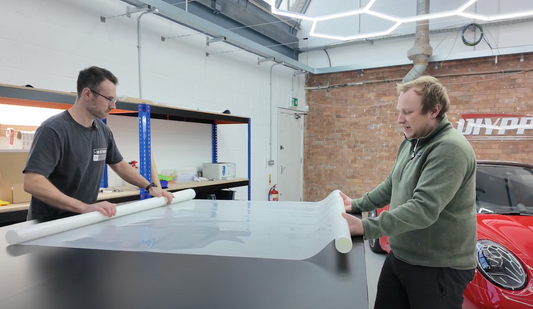
Lesson 4 - Laying out the PPF
If you have a large kitchen/dining room table, a folding table or clean pasting table, this is a perfect place to layout your PPF. Alternatively, a large clean floor can...
Lesson 4 - Laying out the PPF
If you have a large kitchen/dining room table, a folding table or clean pasting table, this is a perfect place to layout your PPF. Alternatively, a large clean floor can...


How we make your order...

Ready to get started?
Search By Year, Make and Model
Still unsure?
Call our expert team for any questions or advice you require - we're here to help!
0333 305 1322
How to fit PPF
View all-

How to mix up PPF application solutions
Essential to fitting PPF properly is making use of the slip solution and the tack solution properly. Understanding how these work together is key, but equally key is understanding what...
How to mix up PPF application solutions
Essential to fitting PPF properly is making use of the slip solution and the tack solution properly. Understanding how these work together is key, but equally key is understanding what...
-

Getting PPF edges to stick!
PPF is an interesting one... you get going, line up your first panel and start squeegeeing it down. At first, it looks like you'll get done in 20 minutes, it's...
Getting PPF edges to stick!
PPF is an interesting one... you get going, line up your first panel and start squeegeeing it down. At first, it looks like you'll get done in 20 minutes, it's...
-

3 techniques to master to ensure a successful P...
Fitting PPF is simple... but we understand it's a daunting prospect! Today, we're going to talk about the top 3 techniques to grasp that will guarantee your fit goes really...
3 techniques to master to ensure a successful P...
Fitting PPF is simple... but we understand it's a daunting prospect! Today, we're going to talk about the top 3 techniques to grasp that will guarantee your fit goes really...


